

 See more recipes from The Tasty Travelers on Google!
The second that the new NINJA FOODI DELUXE came out, I immediately bought it! I’m not exaggerating! I signed up for email notifications for the minute that it was available on the Ninja website. I ordered it the day that it came out and was so incredibly excited to get it in the mail 2 days later! Why was I excited? Well, there’s the updated look of the unit, but there’s also the fact that it has a YOGURT button!!!! What? Yes!!!!!!
Jump to:

So, I don’t eat a lot of yogurt, but my family does so I figured this was a pretty good excuse to get a new NINJA FOODI!! 🙂
I was so excited to get to work on my very first homemade yogurt that I didn’t do a lot of research……..and I paid deeply for that mistake! But, lucky for you, I’m sharing all of my mistakes with you so that you don’t make the same ones!
Take 1: My first attempt at making yogurt!!
- I was so excited to make yogurt that I didn’t spend enough time looking through the user manual of my new NINJA FOODI DELUXE!! OOOOPS! So, I ended up slow cooking milk for roughly 12 hours. I don’t recommend this to anyone. The final result was a liquid brown smelly goo. I did not have any yogurt!!!
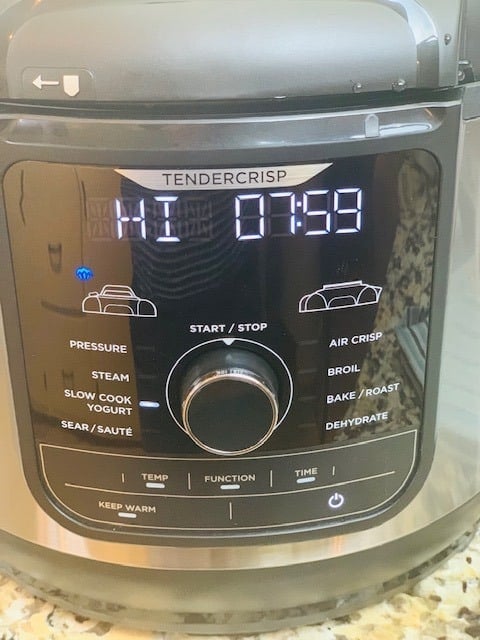
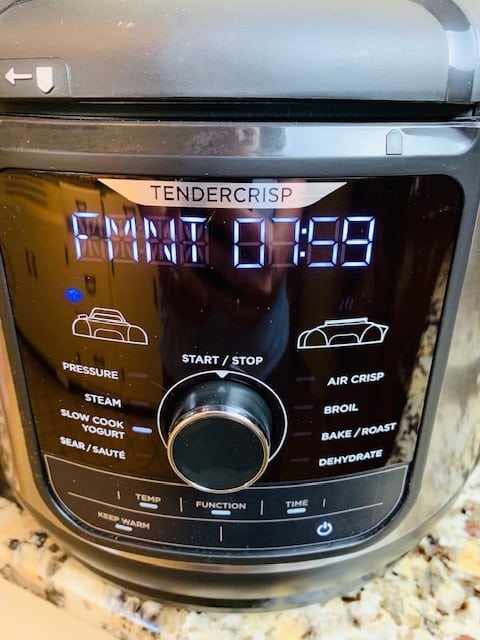
- I made the mistake of stopping on the function that says slow cook/yogurt. I didn’t realize that I needed to go one more notch to actually get to the yogurt function. Instead, I ended up waiting for the milk to boil for roughly 5 hours before going to bed for the night. The cookbook that comes with the Ninja Foodi said that it could take several hours for the milk to boil. Yes, 5 hours seemed like a long time. I spent some time online looking to see how long it should take and I came up with nothing. So, I let it keep going……for hours and hours.
- When I woke up in the morning, the screen still had not changed. So, I opened up the lid…and there it was……my boiled milk. Gross. I poured it down the drain and decided to start again.


Take 2: Do Over!!
- Thank goodness I bought an entire gallon of milk for try number one. I had only used half of the gallon so I didn’t need to go to the grocery store for more supplies. This round, I actually pushed the turned the dial until it said “yogurt!!” I know- it seems so easy! I don’t know how I missed this the first time.
- I used the same milk, yogurt starter, vanilla and honey. I followed the same exact steps. The only difference is that the screen actually changed to show “boil, “”add and stir,” and “incubate!” We are making progress!! The boiling portion did not take 5 hours this time. To my amazement, it boiled in less than an hour! Yippeee!!! We are going to have real yogurt this time!!! Finally, the beep went off and it was time to see my beautiful, thick, yogurt. And then it happened! I opened the lid and I had yogurt soup! What the heck!!!???
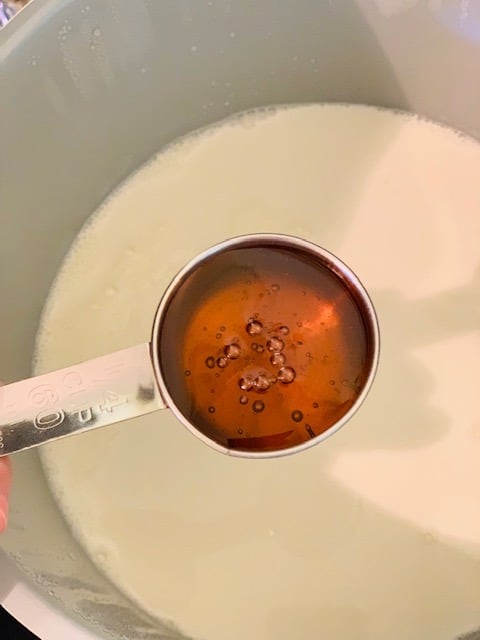
- Ok, so- lesson learned. DO NOT ADD HONEY while the yogurt is cooking! Why you ask? Apparently honey has something in it that reacts with the active yogurt cultures that prevents the yogurt from fully forming. Once again- I should have researched this before making it. Lucky for you, I made this mistake so that you don’t have to.
- To try and get the yogurt a little thicker, I put it in the refrigerator overnight. It did get a little thicker but was still more like drinkable yogurt and less like regular yogurt. Once we got past the consistency (similar to white glue lol), the flavor was actually pretty good. We were moving in the right direction!!
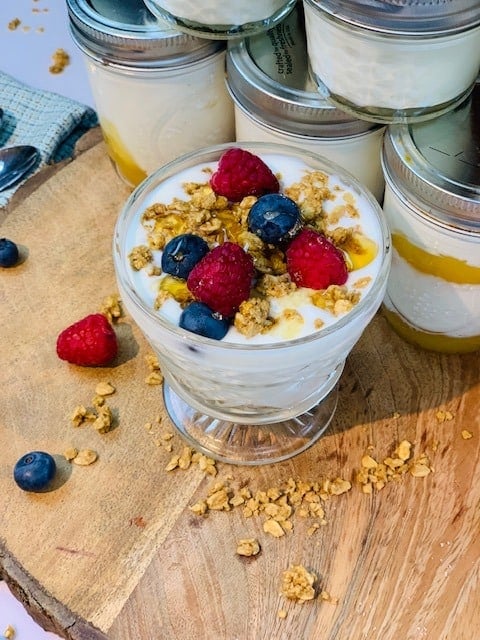

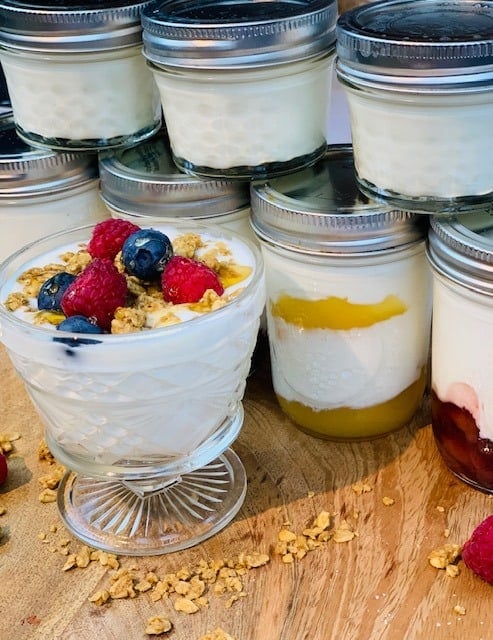
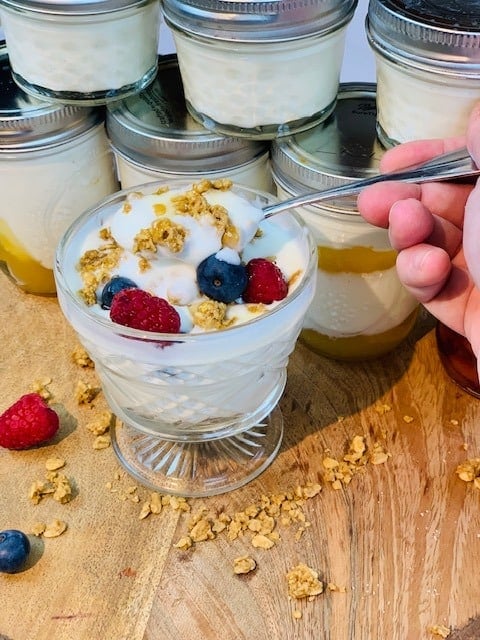
Take 3: Third time’s a charm!!
- Ok, so I ran out of milk and yogurt starter so I needed to go to the store to get more supplies. I bought different milk and yogurt. I figured at this point it couldn’t hurt. I bought the highest fat % yogurt that I could find. 5%! That’s got to do something right!?!
- At this point, I was determined to make actual yogurt! I used the actual yogurt function and skipped the honey and vanilla. Needless to say, my family had lost faith in my yogurt making abilities but I was determined to get it right! To my amazement, it worked!!! I ended up with thick, beautiful yogurt!!! Directions and recipe below to accomplish Take 3 yogurt….I’ll spare you all of the details on Take 1 and Take 2!


Tips for making Ninja Foodi Yogurt:
Do not add honey to the yogurt until you have completed the incubation period and have refrigerated the yogurt for a couple of hours.
Be sure that you are actually using the “yogurt” function and not the “slow cook” option.
Be patient! If the yogurt does not set up quite as much as you would like, continue to incubate it longer. You can continue to incubate before you reach the refrigeration step.
Ingredient tips and substitutions for making Ninja Foodi Yogurt
The full ingredient list is at the bottom of this post in the recipe card.

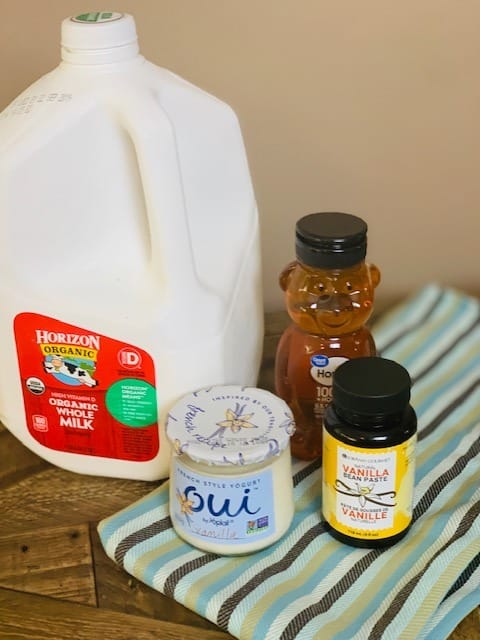
- ½ Gallon of whole milk- Ultra-pasteurized worked best for me
- 2 Tablespoons of yogurt- it must have active yogurt cultures
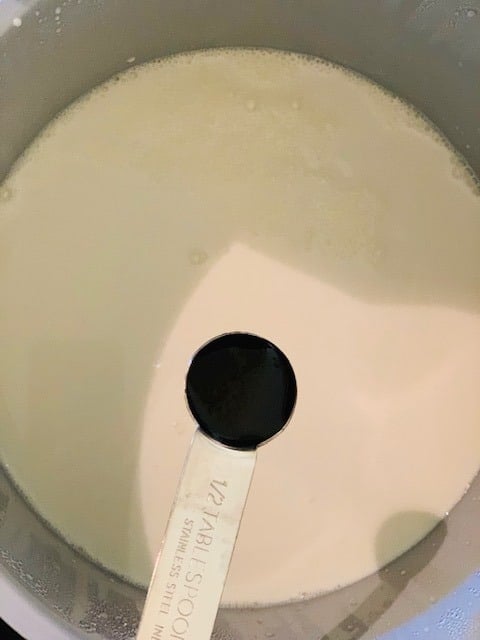
- 1 Tablespoon of vanilla extract or vanilla bean paste
- ½ Cup of honey
Directions for Making Ninja Foodi Yogurt:
- Turn the Ninja Foodi Deluxe “on.”
- Choose the “yogurt” function. (Be sure that the screen says yogurt and not “hi.”)
- Pour in ½ gallon of milk. Do not add in yogurt, flavors or sweeteners. Only the milk should be added in this step.
- Close the “pressure cooker” lid and move valve to “vent.”
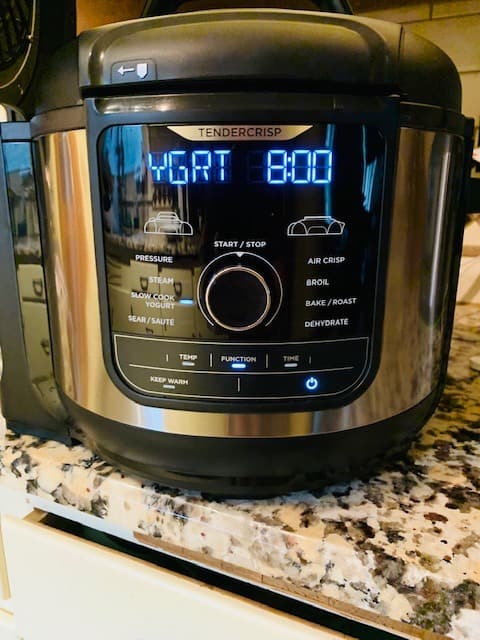
- Push the start button. The screen should say “yogurt” and be set to a time of 8:00.
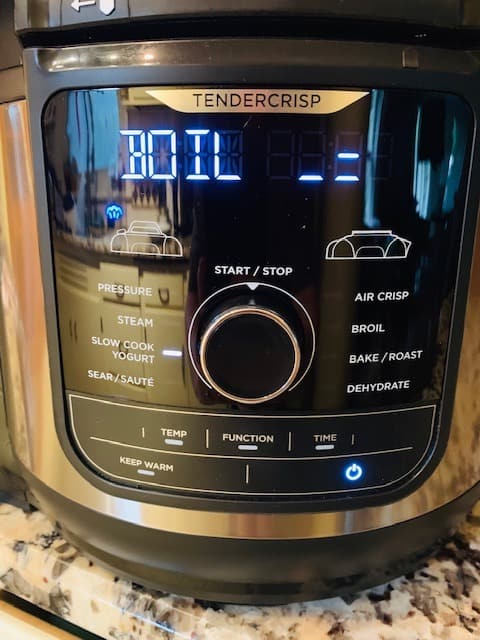
- Milk will boil in the pot during the initial cooking time. Once the milk has reached a boil, the Ninja Foodi Deluxe will beep and the screen will say “boil” on it. This step should take about an hour.
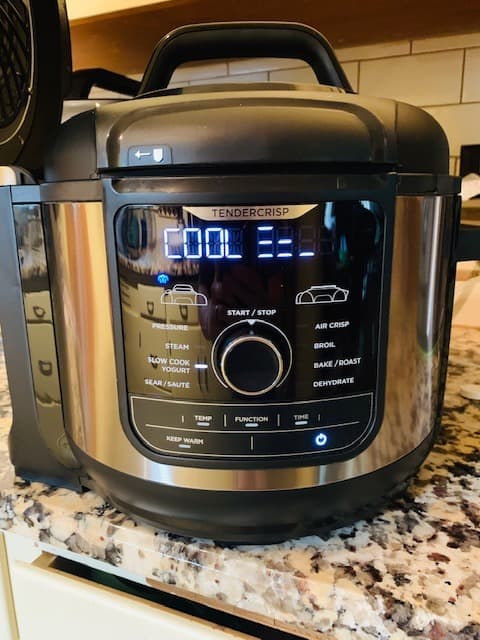
- After the milk has boiled, it will need to cool. The Ninja Foodi Deluxe will automatically change to the “cool” mode. The milk will cool for about an hour or so. Don’t panic if it does take longer.
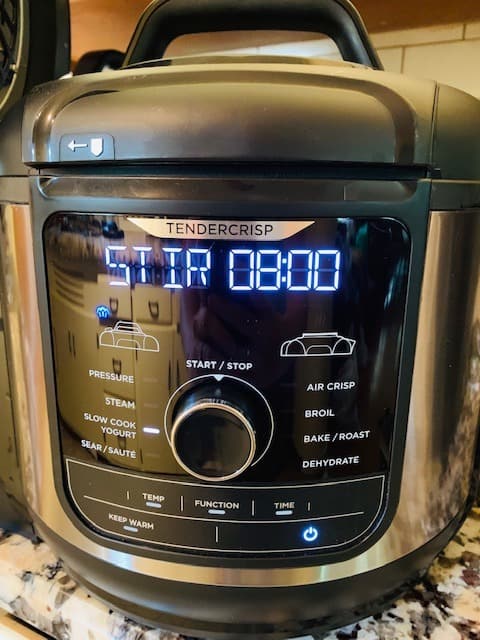
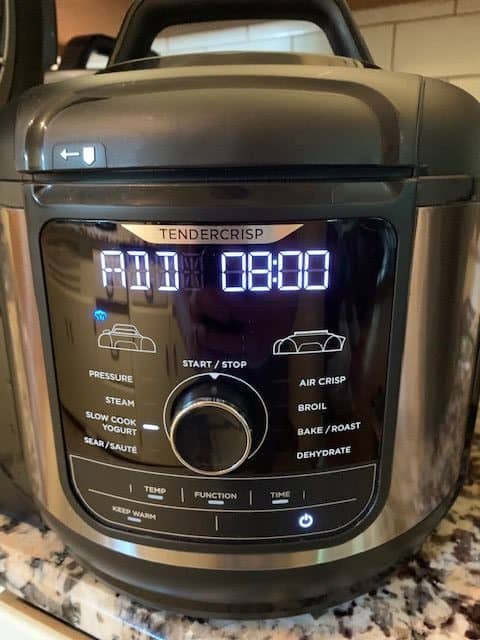
- Once the milk has cooled, the Ninja Foodi Deluxe will beep and the screen will say “add and stir.” When this happens, open the “pressure cooker” lid.
- Add in 2 tablespoons of yogurt (the yogurt must have active yogurt cultures).
- Whisk the milk and yogurt together with a plastic or silicone whisk. Do not use a metal whisk as this will scrape the pot.
- Replace the “pressure cooker” lid and make sure valve is set to “vent” position.
- Push start button again to get the Ninja Foodi Deluxe going again.
- The screen should now say “incubate” and be set to 8 hours.
- Let the yogurt incubate. When the timer beeps, remove the lid and check to make sure that the yogurt has set up. You can do so by stick a spoon in the middle of the yogurt. The spoon should stand up on it’s own.
- Refrigerate yogurt for at least 4 hours.
- Add in honey and vanilla extract or vanilla bean paste. Stir until well combined.
- Place into mason jars or whatever food storage containers you prefer.
Recipe

Ninja Foodi Vanilla Yogurt
Rate this Recipe Print Recipe Pin RecipeEquipment
Ingredients
- ½ gallon Milk (Ultra Pasteurized)
- 2 tablespoon Yogurt (Plain with active yogurt cultures- Any brand will do but the Fage 5% plain Greek yogurt worked for me!)
- 1 tablespoon Vanilla Extract (I used vanilla bean paste! :))
- ½ cup Honey
Instructions
- Turn the Ninja Foodi Deluxe "on."Choose the "yogurt" function. (Be sure that the screen says yogurt and not "hi.")
- Pour in ½ gallon of milk. Do not add in yogurt, flavors or sweeteners. Only the milk should be added in this step.
- Close the "pressure cooker" lid and move valve to "vent."
- Push the start button. The screen should say "yogurt" and be set to a time of 8:00.
- Milk will boil in the pot during the initial cooking time. Once the milk has reached a boil, the Ninja Foodi Deluxe will beep and the screen will say "boil" on it. This step should take about an hour.
- After the milk has boiled, it will need to cool. The Ninja Foodi Deluxe will automatically change to the "cool" mode. The milk will cool for about an hour or so. Don't panic if it does take longer.
- Once the milk has cooled, the Ninja Foodi Deluxe will beep and the screen will say "add and stir." When this happens, open the "pressure cooker" lid.Add in 2 tablespoons of yogurt (the yogurt must have active yogurt cultures).
- Whisk the milk and yogurt together with a plastic or silicone whisk. Do not use a metal whisk as this will scrape the pot.
- Replace the "pressure cooker" lid and make sure valve is set to "vent" position.
- Push start button again to get the Ninja Foodi Deluxe going again.
- The screen should now say "incubate" and be set to 8 hours.Let the yogurt incubate. When the timer beeps, remove the lid and check to make sure that the yogurt has set up. You can do so by stick a spoon in the middle of the yogurt. The spoon should stand up on it's own.
- Refrigerate yogurt for at least 4 hours.
- Add in honey and vanilla extract or vanilla bean paste. Stir until well combined.
- Place into mason jars or whatever food storage containers you prefer.
Notes
- Do not add honey to the yogurt until you have completed the incubation period and have refrigerated the yogurt for a couple of hours.
- Be sure that you are actually using the “yogurt” function and not the “slow cook” option.
- Be patient! If the yogurt does not set up quite as much as you would like, continue to incubate it longer. You can continue to incubate before you reach the refrigeration step.
Nutrition
Nutrition information is provided as a courtesy and is an estimate only.


Lisa says
This is my 3rd time trying to make the yogurt. Like you, I did not realize that the slow cook/yogurt had 2 settings. Thank you!!!
Shveta says
Excellent explanation. How long does it take to change from “cool mode” to “add and stir”. My one is on cool mode since 3+ hours it doesn’t change to add and stir. Any help would be appreciated.
TheTastyTravelers says
I’m glad you found our recipe helpful. It only took about an hour for the machine to change to “cool.” 3 hours seems like a long time. Did it eventually change to cool? I’m interested to hear how it turned out.
AMY WEBB says
My cool cycle took 3+ hours and I was starting to get worried but then it went to ferment. I did a keto version with half and half and light cream and used probiotic capsules for my starter. When it was done it looked nice and thick. I’ll taste it in the morning with some sweetener and walnuts. Thank you for your clear instructions
AMY WEBB says
Mine took about 3 hours. It’s still incubating right now.
Ann D Tuchler says
Mine also took that long to cool and it had solid bits in it that would not dissolve.
June says
tried this recipe last night with the last of my milk that was going to expire. I used a Greek yogurt about half a single serve container. it only took 20 minutes to boil my milk but then it took like 2 and 1/2 hours to cool it. I haven’t mixed vanilla or honey or anything in it and it tastes like Greek yogurt.
Lauren Cardona says
Hi June! So glad to hear that your yogurt turned out great! 🙂
Ann D Tuchler says
I had it set to pressurize so the milk got way too hot. You might be making the same mistake.
Jamie says
I’m on my second attempt. I did the same thing with my first attempt. I didn’t realize that there was a separate yogurt option. I slow cooked the milk for 8 hours. The boiling of the milk took maybe twenty minutes this time around. Waiting for it to cool.
TheTastyTravelers says
I’m so glad that it’s working now. That yogurt button is a little tricky! I can’t wait to hear how it turns out! Good luck!
Jody says
I too slow cooked milk! Thank you for your article. Googling this saved the yogurt.
TheTastyTravelers says
I’m so glad that our post was helpful! Nobody wants slow cooked milk! 🙁
Dejah says
Hi! I’m really excited to make my own yogurt, and am curious, can I use plain Kefir for the yogurt addition?
Lauren Cardona says
Hi Dejah, I haven’t tried using plain kefir to make the yogurt. You need yogurt with live cultures. Does your kefir say “live cultures” on the ingredients? I would recommend trying the recipe in a smaller amount to see if it works before committing to the entire full-sized recipe.
Lyubov says
Great yogurt from first try! Thank you!
TheTastyTravelers says
I’m so glad you liked it! 🙂
Amanda Arias says
I found this just in time. I too slow cooked milk for about 12 hours last week. I never really understand the directions that came with my foodi. I decided to try again today. I had looked high and low for videos or a blog and never found anything helpful until now! Thank you so much! I was set up for failure today as well. I was slow cooking milk again until I saw your instructions that there is one more setting in there. That is a terrible design, by the way!! Now I am learning from your other mistakes and making sore I only add the yogurt starter!! Thank you so much for this!!!
TheTastyTravelers says
I’m glad that my mistakes helped you! 😀. Once I finally got it to work it was delicious! Enjoy!
Shayna says
SAME!!! All the same! I make yogurt on the stove and let it sit in a cooler to ferment, I had never thought to look for another setting! Gah! I’m glad to see that it’s not just me!
K says
Thanks for your tips. Too bad I didn’t find them until I made some mistakes!
Trina says
YAY! I did it on the first try! I let it hang in the fridge in cheesecloth all night though, and almost made cheese!! But I added back in some whey liquid and it’s quite nice!
Katelyn P. says
Did you let it drain in the cheese cloth before or after you added the honey and vanilla?
TheTastyTravelers says
You don’t have to let it drain using cheesecloth. If you choose too, you would do so before adding in flavorings.
Carrie Elrod says
Thank you!! I just slow cooked milk for 8hrs. I knew it wasn’t right but didn’t figure it out until I read your post. The foodi recipe is not very helpful. Here’s to take #2!!
TheTastyTravelers says
Oh no! Hopefully it only takes 2 tries for you instead of 3!! You can do it!! Good luck!!
Pamela Keys says
My first attempt to make yogurt was identical to yours. Thank you so much for pointing me in the right direction!!!
TheTastyTravelers says
I’m so glad I could help!! Sometimes sharing fails is as helpful as sharing the wins!
Louise says
I have a couple of questions:
1-do the ingredients need to be at room temperature?
2-how long does this really take? Seems that the Ninja keeps going back to 8 hours.
3-to have yogurt in the day time, what time should I start it? I don’t want to be up and down all night checking to see if it’s time to stir in… If it goes beyond the ending time, will it go to warm and ruin the yogurt? Or will lit just stop, and the yogurt be fine in the morning, ready to chill/drain?
(Would you please edit your recipe to show more info and fix typos? 🙂
TheTastyTravelers says
Hi Louise! I’m happy to answer your questions as best I can.
1- No, the ingredients do not need to be at room temperature. I use them straight out of the refrigerator.
2-I wish I had a solid answer for you on how long it takes all together. The time to boil for me was about 1 hour. The cooling time for me was about 1 hour. The incubate time is 8 hours. The cooling time in the refrigerator is at least 4 hours. That comes to a total of about 10 hours in the machine plus 4 hours for cooling. But, the reason I said that I don’t have a solid answer is because the time to get it to boil and the time it takes to get it to cool seems to vary for people. Several folks have mentioned that it has taken upwards of 3 hours to boil or to cool. So, at a minimum, you are looking at 10 hours in the machine and 4 hours to cool in the refrigerator.
3-I would recommend starting the yogurt in the afternoon and allowing the yogurt to incubate for 8 hours in the night while you are sleeping. I think that would eliminate the need to be up and down throughout the night checking on it or stirring it etc. In the event that it incubated longer than the 8 hours, the yogurt will not be ruined. The longer it incubates, the more tart the yogurt will get. Some people prefer their yogurt after it has incubated for a longer period of time….some up to 12 hours. I personally have not tried this approach. Yogurt takes some tweaking to get it just right for your tastes. I would recommend trying it out and making adjustments to when you start it etc. based on how long it takes you and your machine.
I hope that helps! 🙂 Good luck!