

Check out my recipe for making Blueberry Puff Pastry Tarts!
If you’re looking for the perfect appetizer or dessert, Blueberry Puff Pastry Tarts are perfect!

Blueberry Puff Pastry Tarts are easy to make, individually sized, use common, easy to find ingredients, don’t take long to make, and can even be made ahead of time!
The recipe can be modified to use different fruit. You can use blueberries, raspberries, strawberries, cranberries, apples, pears, or even peaches or apricots. I chose to use blueberries and a few raspberries because they are favorites in our household!
For this recipe, I used store-bought, frozen, puff pastry sheets. While you can make your own puff pastry, it’s much quicker and easier to just buy the store-bought version. It’s pretty easy to find and is sold at most grocery stores in the freezer section near the pie crusts.

The combination of the cream cheese mixed with the powdered sugar and vanilla creates a texture and flavor similar to cheesecake. Traditionally, cheesecake has eggs in it. My recipe does not contain eggs and they are not needed as the mixture still takes on the taste and texture of cheesecake.

Tips for making Blueberry Puff Pastry Tarts
It depends on the recipe. Usually, if you are making a recipe that has a filling, you’ll want to partially cook the puff pastry before filling so that it doesn’t get soggy. But, for this recipe, there is no need to pre-cook the puff pastry because the area for the filling is very small. The filling does not make the puff pastry soggy, instead, it cooks enough on the outside to make it puffy and crispy.
Puff pastry is a light and flaky dough that is made from very thin layers of pastry dough and butter. It is similar to croissant dough.
Yes, you can freeze already-cooked blueberry puff pastry tarts. Freeze in a freezer-tight container or bag for up to 3 months. When ready to eat, thaw and bake at 350 degrees for about 10 minutes or until warm throughout.
Store in a sealed container or bag in the refrigerator for up to a week.
Yes, you should thaw the puff pastry before cooking. Frozen puff pastry will not unfold easily and will crack the dough. Also, cooking frozen puff pastry will provide inconsistent cooking and the dough will not puff up evenly.
Looking for more Appetizer Recipes? Check out all of our appetizer recipes here!
Ingredient substitutions and tips for making Blueberry Puff Pastry Tarts:
The full ingredient list is found at the bottom of the post in the recipe card.
Puff Pastry-Ready to bake, thawed. Frozen puff pastry dough is the quickest and easiest to use, but freshly made can be used. Do not use filo dough for this recipe.
Cream Cheese- Softened in the microwave. Full-fat or low-fat cream cheese can be used.
Powdered Sugar– Powdered sugar is recommended. Regular white sugar can be used but the texture will not be quite as creamy.
Vanilla Bean Paste– I prefer to use vanilla bean paste because it adds extra vanilla flavor without adding the alcohol taste that vanilla extract has. You can use vanilla extract or substitute it with almond or hazelnut extract.
Half and Half- If you don’t have half and half, you can use milk or cream or a non-dairy creamer. You just need a little bit of liquid to thin out the mixture.
Blueberries– Fresh berries, washed. It is not recommended to use frozen berries for this recipe as there is a lot more liquid in frozen berries. You can use blueberries, blackberries, raspberries, apples, peaches, pears, or cherries instead.
Raspberries– Fresh berries, washed. It is not recommended to use frozen berries for this recipe as there is a lot more liquid in frozen berries. You can use blueberries, blackberries, raspberries, apples, peaches, pears, or cherries instead.
Honey– Maple syrup can be used instead.
Lemon Zest- Lime zest can be used instead, or it can be omitted.
Non-Stick Cooking Spray– If you don’t have cooking spray, butter can be used instead.
Directions for making Blueberry Puff Pastry Tarts:
1. Thaw puff pastry sheets and unfold. Cut each sheet into 12 squares.
2. Spray cupcake or muffin tin with non-stick spray and put one square in each cupcake well, 12 in each pan. Do not use cupcake liners.
3. Preheat oven to 375 degrees Fahrenheit.
4. Mix cream cheese, powdered sugar, vanilla bean paste, half and half, and 16 ounces (2 cups) of fresh blueberries until well combined. No need to use a blender or mixer. Just hand mix all together in a bowl with a spatula.
5. Scoop about 2 tablespoons of the blueberry and cream cheese mixture into the puff pastry cups. Evenly distribute the mixture into the 24 cups.
6. Top each pastry with 2 or 3 blueberries and 1 or 2 raspberries.
7. Put the cupcake pans with the pastries into the oven and bake at 375 degrees Fahrenheit for 30 minutes or until the puff pastry is golden brown.
8. Remove the puff pastries from the oven.
9. Drizzle with honey and sprinkle with lemon zest.
Pin Blueberry Puff Pastry Tarts on Pinterest:

Recipe

Blueberry Puff Pastry Tarts
Rate this Recipe Print Recipe Pin RecipeEquipment
- 2 Cupcake Pans Non-stick, regular-sized cupcake pans
Ingredients
- 2 Sheets (2 Sheets) Puff Pastry (Ready to bake, thawed (17.3 ounces total))
- 16 Ounces (453.59 g) Cream Cheese (Softened in the microwave)
- 2 Cups (240 g) Powdered Sugar
- 1 Teaspoon (0.99 Teaspoon) Vanilla Bean Paste (or vanilla extract)
- 2 Tablespoons (1.97 Tablespoons) Half and Half
- 24 Ounces (680.39 g) Blueberries (Fresh, washed)
- 6 Ounces (170.1 g) Raspberries (Fresh, washed)
- 2 Tablespoons (1.97 Tablespoons) Honey
- 1 Tablespoon (0.99 Tablespoon) Lemon Zest
- Non-Stick Cooking Spray
Instructions
- Thaw puff pastry sheets and unfold. Cut each sheet into 12 squares.
- Spray cupcake pans with non-stick spray and put one square in each cupcake well, 12 in each pan. Do not use cupcake liners.
- Preheat oven to 375 degrees Fahrenheit.
- Mix cream cheese, powdered sugar, vanilla bean paste, half and half, and 16 ounces (2 cups) of fresh blueberries until well combined. No need to use a blender or mixer. Just hand mix all together in a bowl with a spatula.
- Scoop about 2 tablespoons of the blueberry and cream cheese mixture into the puff pastry cups. Evenly distribute the mixture into the 24 cups.
- Top each pastry with 2 or 3 blueberries and 1 or 2 raspberries.
- Put the cupcake pans with the pastries into the oven and bake at 375 degrees Fahrenheit for 30 minutes or until the puff pastry has browned.
- Remove the puff pastries from the oven.
- Drizzle with honey and sprinkle with lemon zest.
Notes
Nutrition
Nutrition information is provided as a courtesy and is an estimate only.
Leave a comment and rate this recipe!
Keep scrolling to see my newest recipes!
-
Ninja Creami Cotton Candy Protein Ice Cream
If you love cotton candy, you have to try this Ninja Creami cotton candy protein ice cream. It tastes EXACTLY like the cotton candy you’d get at a carnival, has 31 grams of protein per pint, and it comes out pink, white, and blue right in the same container. You would never know it’s a protein ice cream! This recipe comes in at 357 calories, 31 grams of protein, 16 grams of sugar, 11.5 grams of fat, and 53 carbs for the ENTIRE pint. Jump to: Tips for making Ninja Creami Cotton Candy Protein Ice Cream Looking for more Ninja […]
-
Ninja Creami Strawberry Pretzel Pie Protein Ice Cream
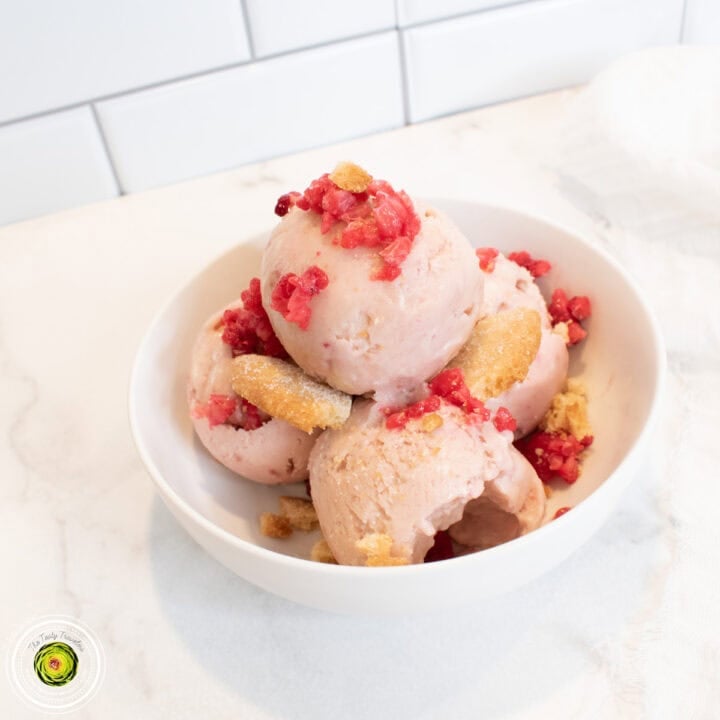
If you have ever had strawberry pretzel pie at a summer BBQ or potluck, you know how good those flavors are together. This Ninja Creami strawberry pretzel pie protein ice cream takes that same combination of sweet strawberry, cheesecake, and crunchy pretzel and turns it into a thick and creamy frozen treat. I promise you would never know it has 33 grams of protein! This recipe comes in at 359 calories, 33 grams of protein, 10 grams of sugar, 4 grams of fat, and 50 carbs for the ENTIRE pint. Jump to: Tips for making Ninja Creami Strawberry Pretzel Pie […]
-
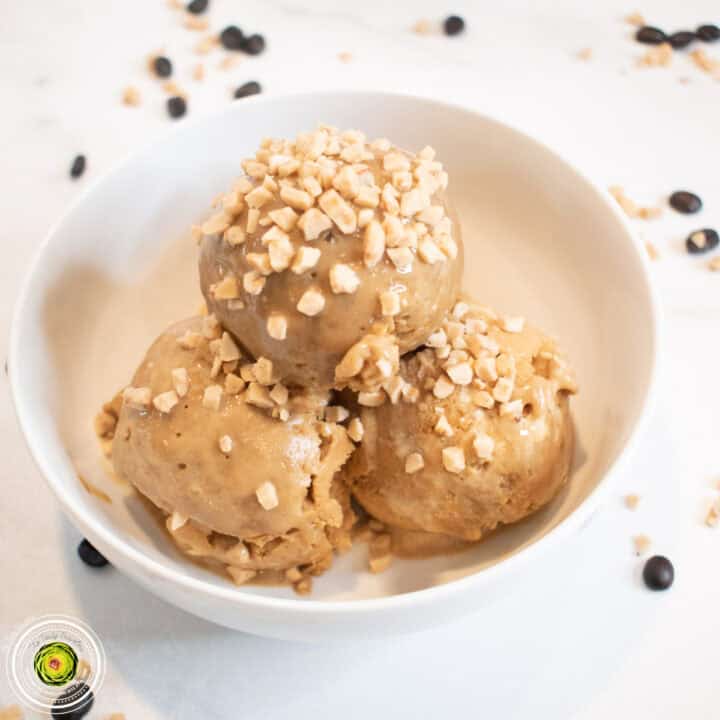
Ninja Creami Coffee Toffee Protein Ice Cream
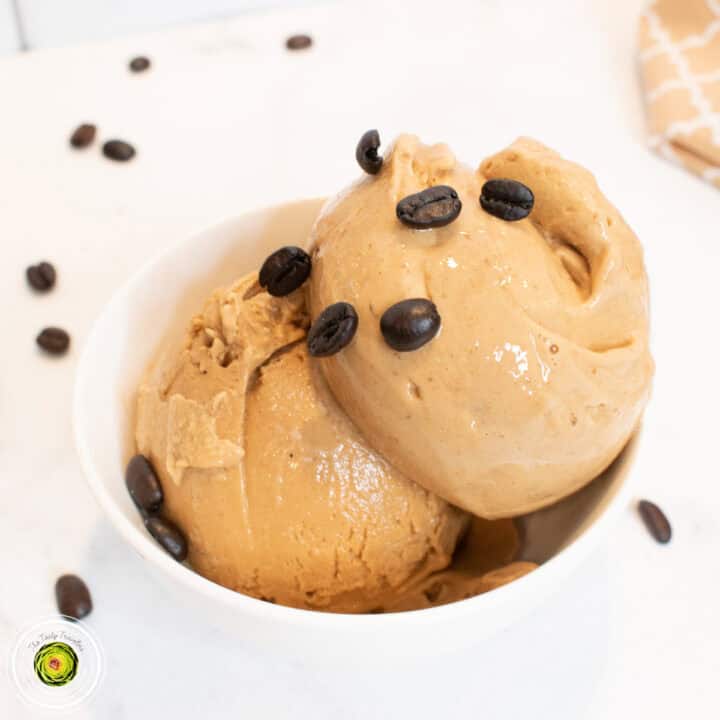
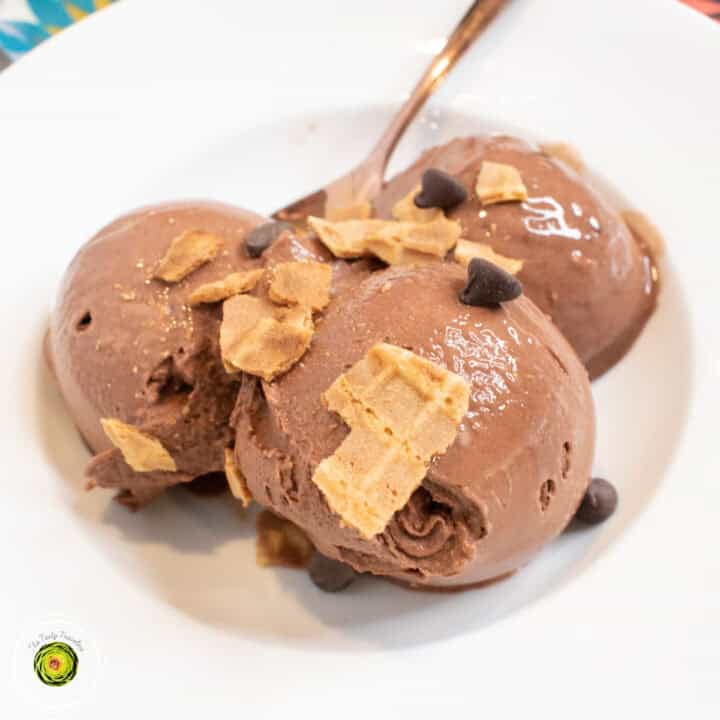
If you love coffee ice cream, you have to try my recipe for Ninja Creami toffee coffee protein ice cream. It has the perfect amount of coffee flavor, a thick and creamy texture, and a really good crunch from the Heath chip mix-ins. I promise you would never know it’s a protein ice cream! This recipe comes in at 357 calories, 30 grams of protein, 19 grams of sugar, 13 grams of fat, for the ENTIRE pint. Jump to: Tips for making Ninja Creami Toffee Coffee Protein Ice Cream Looking for more Ninja Creami Protein Ice Cream Recipes? Ingredient tips […]


-
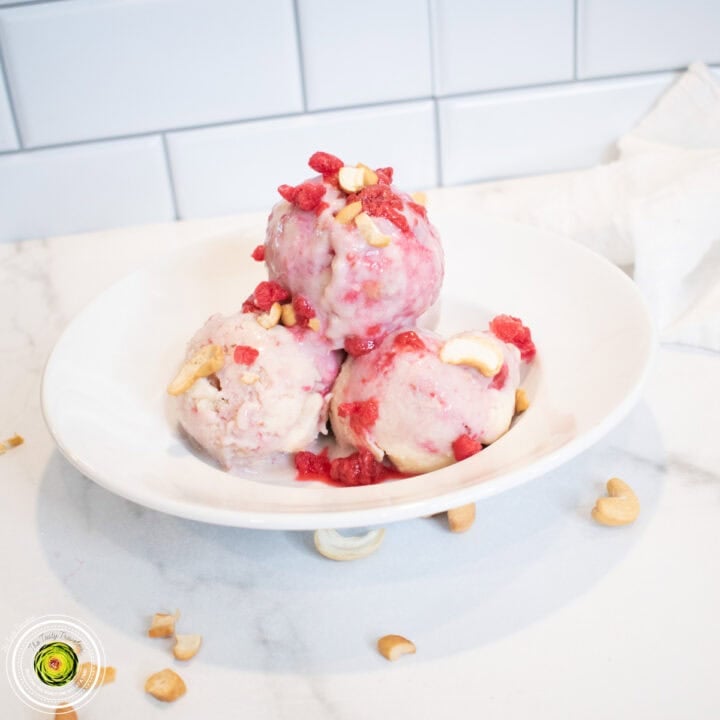
Ninja Creami Baseball Nut Protein Ice Cream
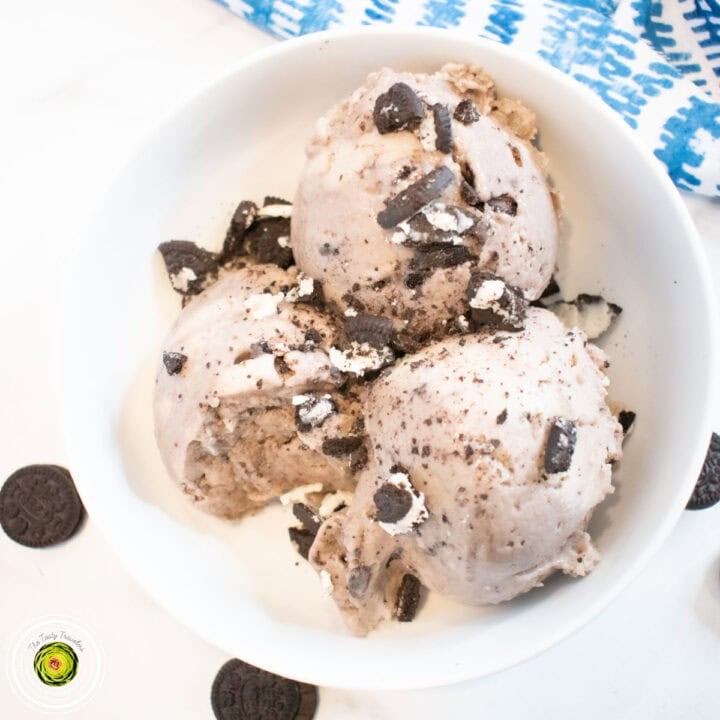
If you loved Baskin Robbins Baseball Nut ice cream as a kid, you have to try this Ninja Creami baseball nut protein ice cream. It’s a creamy vanilla base loaded with chopped cashews and homemade raspberry sauce throughout, and I promise you would never know it’s a protein ice cream. Jump to: Tips for making Ninja Creami Baseball Nut Protein Ice Cream Looking for more Ninja Creami Protein Ice Cream Recipes? Ingredient tips and substitutions Directions for Making the Ice Cream Mixture Directions for Processing the Ice Cream Mixture Save for Later on Pinterest! Recipe Comments Baseball Nut from Baskin […]
-
Ninja Creami Peach Cobbler Cottage Cheese Protein Ice Cream
I will be the first person to tell you that I HATE cottage cheese. I cannot stand the texture, the flavor, none of it. So when I tell you that this Ninja Creami Peach Cobbler Cottage Cheese Protein Ice Cream does not taste like cottage cheese, I mean it! I promise! This recipe comes in at 297.59 calories, 38.2 grams of protein, 21.11 grams of sugar, 4.23 grams of fat, and 27.68 grams of carbs for the ENTIRE pint. See the recipe card at the bottom of the post for all nutrition facts. Jump to: Tips for making Ninja Creami […]
-
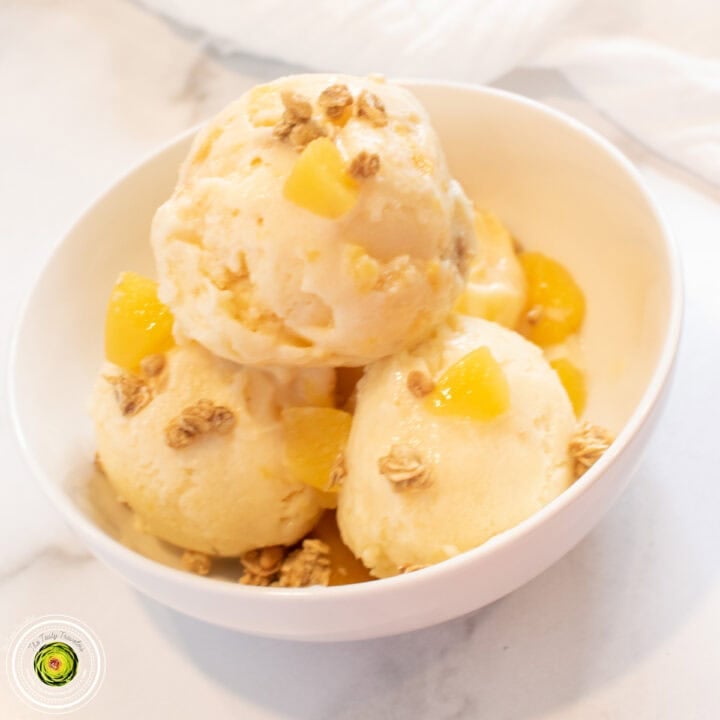
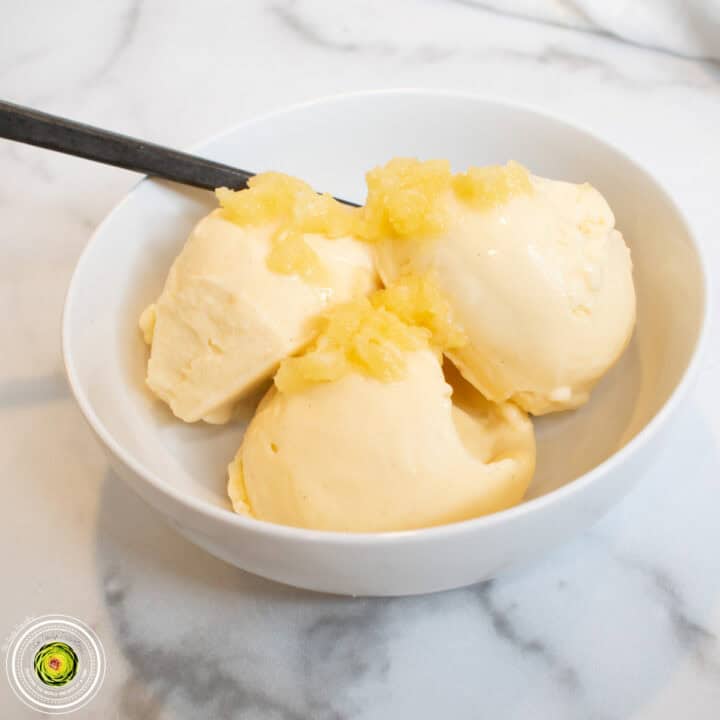
Ninja Creami Pineapple Dole Whip Protein Ice Cream
If you have ever had a Dole Whip at Disney World, you know how addicting they are. This Ninja Creami Pineapple Dole Whip Protein Ice Cream brings that same creamy pineapple flavor home, but with a TON of protein packed into the whole pint. Trust me, you would never know it’s a healthier version! This recipe comes in at 346.67 calories, 31.33 grams of protein, 24 grams of sugar, 3 grams of fat, and 47 grams of carbs for the ENTIRE pint. See the recipe card at the bottom of the post for all nutrition facts. Jump to: Tips for […]
-
Secret Ingredient to Make Coffee Ice Cream
If you want rich, bold coffee flavor in your Ninja Creami ice cream, instant espresso powder is the way to do it. No extra liquid, no fuss, and you can dial in exactly how much coffee flavor you want. Here’s everything you need to know. Why use instant espresso powder instead of brewed coffee? Brewed coffee is mostly water. Adding it to your Ninja Creami base means you’re adding liquid that can change the consistency of your recipe and water down the other flavors. Instant espresso powder is pure concentrated coffee flavor with no extra liquid. You get all the […]
-
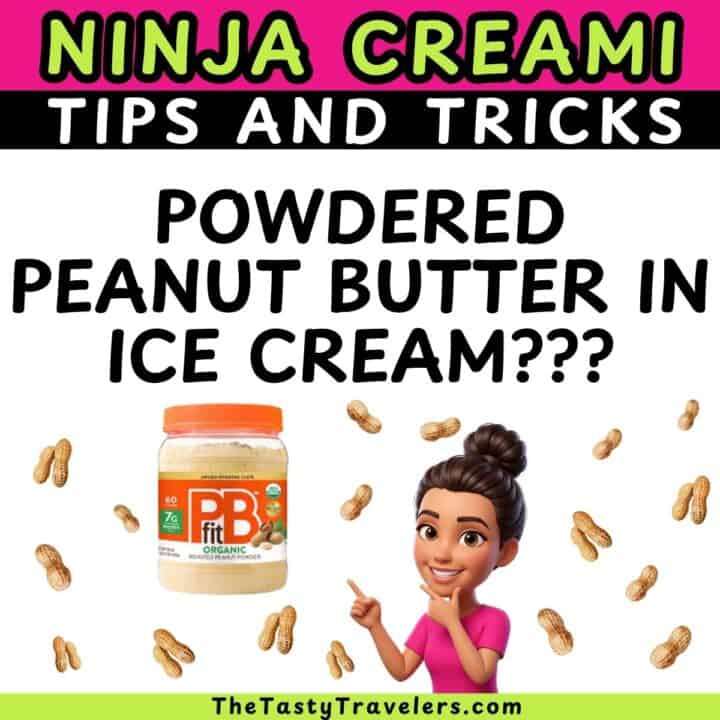
Use Powdered Peanut Butter for More Flavor in Ninja Creami Recipes
If you want more peanut butter flavor in your Ninja Creami ice cream without adding on extra fat and calories, powdered peanut butter is a simple swap that delivers a richer, more concentrated peanut butter taste. Here’s why it works and how to use it. What is powdered peanut butter? Powdered peanut butter is made by pressing most of the fat out of roasted peanuts and grinding what’s left into a fine powder. What remains is concentrated peanut butter flavor with significantly less fat, fewer calories, and less sugar than regular peanut butter. It has the same nutty, roasted peanut […]
-
How Long Can You Freeze a Ninja Creami Base Before Processing?
Everyone knows that it’s recommended to freeze your Ninja Creami base for 24 hours before processing. But does it need to be frozen for exactly 24 hours? How long is too long, and does it actually matter if your Ninja Creami base has been sitting in the freezer for a week or more? Is there a maximum freeze time for Ninja Creami bases? Ninja does not publish an official maximum freeze time. The 24 hour minimum is well established, but there is no hard cutoff on the other end. Many people make their ice cream base with the intention of […]


-
How to Get Even More Vanilla Flavor in Your Ice Cream…
If you’ve been using vanilla extract in your Ninja Creami recipes and want to take the vanilla flavor up a notch, vanilla bean paste is the upgrade. Same effort, noticeably better results. What is vanilla bean paste? Vanilla bean paste is exactly what it sounds like. It’s a thick paste made from real vanilla beans. It contains the actual seeds scraped from inside vanilla bean pods, which is where the most intense vanilla flavor lives. When you use it in ice cream, you get those tiny black vanilla bean specks throughout the pint, along with a deeper, richer vanilla flavor […]
-
-

-
-
Are Ninja Creami Leftovers Supposed to Be Hard?
You made your Ninja Creami ice cream, it was perfect right out of the machine, you saved some for later, and now it’s basically a solid block. Is that normal? Yes. Here’s why it happens and what you can do about it. Are Ninja Creami leftovers supposed to freeze hard? Yes. Ninja Creami ice cream leftovers freezing hard after refreezing is completely normal. It is not a sign that something went wrong with your recipe. It is just how Ninja Creami ice cream behaves, and it comes down to how the machine works. Why Do the Leftovers Freeze So Hard? […]
-


-
-
-
Ninja Creami Berry Blast Protein Ice Cream
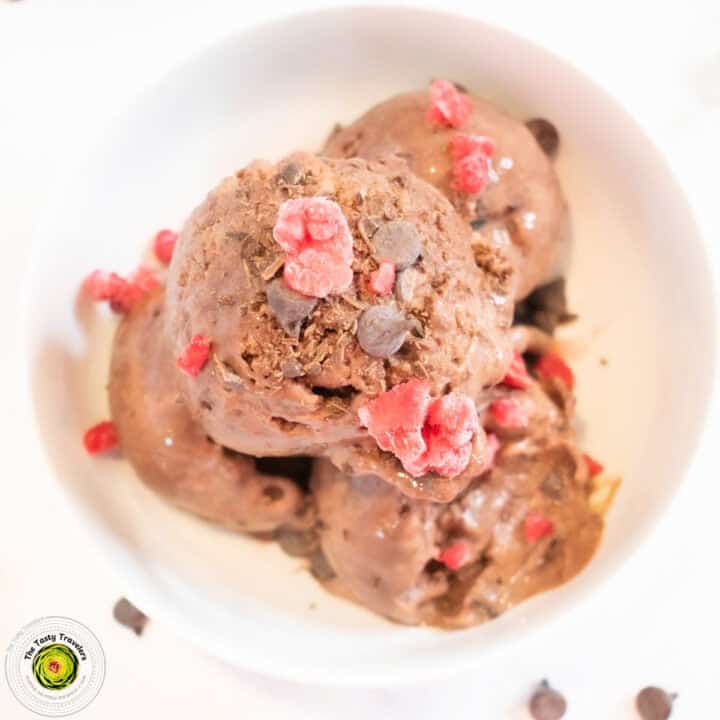
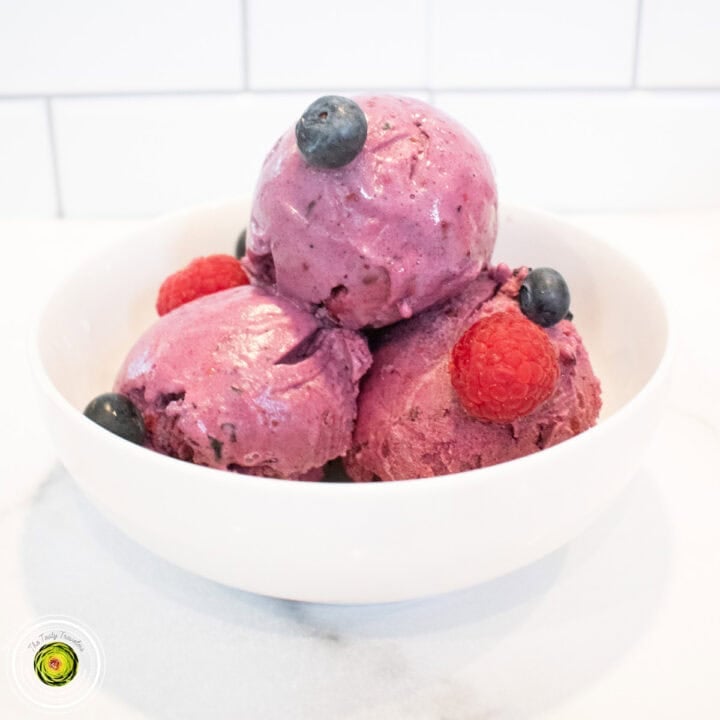
If you are tired of forcing down protein shakes and you are looking for a better way to hit your macros, then you have to try this Ninja Creami Berry Blast Protein Ice Cream. It is packed with real mixed berries, loaded with protein, and it tastes like an actual dessert instead of something you are forcing yourself to eat because it is good for you. Blueberries, blackberries, and raspberries come together to create a bold berry flavor that is bright, fruity, and absolutely delicious. This recipe comes in at 279 calories, 26 grams of protein, 19 grams of sugar, 6 […]


TJ says
These are quick and easy to make and tasty. I needed a quick easy dessert for superbowl Sunday and threw these together and everyone really liked them
Lauren Cardona says
I’m so glad everyone loved them!