

Check out my recipe for making Sweet Potato Soufflé!
Making sweet potato souffle couldn’t be easier! It’s sweet, creamy, and fluffy! My version of sweet potato soufflé is a little different as it does not have eggs in it. So, it has the texture of a sweet potato soufflé but could also be called a sweet potato casserole.
Every year around the holidays my mom goes to Honey Baked Ham and buys a sweet potato souffle. It’s a staple at our house for Easter, Thanksgiving, and Christmas. I’ll admit it, I never really eat that much of it because I tend to go for the savory things over the sweet ones.

It wasn’t until recently that I absolutely fell in love with the flavors in sweet potato souffle! We went out to a restaurant for Thanksgiving for the first time ever! I ALWAYS make Thanksgiving dinner. But, this year was different. And, we had the best sweet potatoes ever!!! I found myself craving those sweet potatoes! What???
So, I set out on a mission to make my own version that tasted just as good!
Yes, it’s sweet…quite sweet due to the sweetness of the sweet potatoes and the added sugar and marshmallows. But, it’s the perfect compliment to a savory meal and has become one of my favorite side dishes! You could even eat it as a dessert…it’s that good!

One of the nice things about making your own sweet potato casserole or Soufflé is that you can really modify it for your own preference. If you like it extra sweet, add more mini marshmallows, brown sugar, or a little vanilla extract. If you don’t like pecans, you can add walnuts, almonds, or any other nut instead. You can even sprinkle with cinnamon before serving!

Tips for making Sweet Potato Soufflé
Traditionally a souffle has a lighter and fluffier texture than a casserole does. This is usually due to the addition of eggs in a souffle. While I don’t use eggs in my sweet potato souffle, the texture is light and fluffy, just as it would be with eggs.
If the sweet potatoes were not cooked enough, they can release more water, which will make the sweet potato souffle runny. Also, if you don’t drain enough of the water off after cooking the sweet potatoes, it will be runny.
Yes! You can make it a couple of days ahead of time and when you are ready to eat, just put it in the oven at 375 degrees Fahrenheit and bake for about 30 minutes, or until it’s warm throughout. If the marshmallow topping starts to get a little too brown, make a little tent out of aluminum foil to protect the topping and continue to bake until warm in the center.
You can either bake or boil the potatoes. Baking the sweet potatoes takes longer than it does to boil them (if they are cut into 1 inch cubes). But, if you would like to prepare the potatoes in advance, you can bake them and refrigerate them until you are ready to make the souffle/casserole.
Store the leftovers in an airtight container or securely covered in plastic wrap. The leftovers will last for up to a week in the fridge or a couple of months in the freezer. When ready to eat, simply take out of the refrigerator or thaw it and then microwave it until warm.
I prefer to use a handheld potato masher to mash my sweet potatoes. But, if you prefer you can use a handheld or upright mixer to “mash” the sweet potatoes and combine them with the other ingredients. However, overmixing can create a very starchy mashed potato. So, if you have a handheld masher, I’d recommend using that instead of a mixer.
I made my sweet potato casserole/souffle in an 8X8 baking dish, but if you don’t have that size you can make it in a 12 or 13-inch baking dish. Your casserole just won’t be quite as deep as mine and you may need more marshmallows and pecans for the topping. To make it easy to get the casserole dish in and out of the oven, I put it on a larger sheet pan.
Looking for more Side Dish Recipes? Check out all of our side dish recipes here!
What you’ll need to make Sweet Potato Souffle:

Ingredient substitutions and tips for making Sweet Potato Soufflé:
The full ingredient list is found at the bottom of the post in the recipe card.
Sweet Potatoes- Medium to large, Washed, peeled, and cut into 1-inch cubes.
Butter- Salted butter
Milk- I use whole milk but lowfat, 2% or even heavy cream can be used. Non-dairy milk like almond milk can also be used.
Brown Sugar– You can use white sugar but the brown sugar adds a richer flavor.
Salt– Freshly ground
Non-Stick Cooking Spray or Butter (To grease the pan)
Marshmallows – I use mini marshmallows for this recipe, but you can use larger marshmallows if you would like.
Pecans- Chopped- If you prefer you can use walnuts or almonds.
Honey- Maple syrup can be substituted for honey. I would recommend pure maple syrup instead of pancake syrup if you have it.
Steps for Making Sweet Potato Soufflé:


Directions for making Sweet Potato Soufflé:
1. Preheat your oven to 375 degrees Fahrenheit.
2. Liberally spray or butter your baking dish so that the sweet potatoes do not stick to it after cooking.
3. Peel and cut sweet potatoes into 1-inch cubes.
4. Boil the sweet potatoes in a large pot of salted water for 15 minutes or until fork tender.
5. Drain water from the pot of sweet potatoes.
6. Mash the sweet potatoes using a potato masher. You can either mash the potatoes right in the pot or you can transfer them to a large mixing bowl and mash the potatoes in the bowl instead.
7. Add the butter and milk to the mashed sweet potatoes.
8. Add the brown sugar and a pinch of salt and stir well.
9. Pour the sweet potato mixture into the baking dish.
10. Top with marshmallows and pecans and then drizzle with honey.
11. Bake for 20 minutes in a preheated oven, or until the marshmallows are lightly brown and starting to melt.
12. Remove from the oven and serve with your favorite main course! Enjoy!
Pin Sweet Potato Casserole on Pinterest:
")
Recipe

Sweet Potato Soufflé
Rate this Recipe Print Recipe Pin RecipeEquipment
- Large pot
Ingredients
- 4 (4) Sweet Potatoes (Large- Peeled and cut into 1 inch chunks)
- ½ Cup (113.5 g) Butter
- ½ Cup (122 g) Milk
- ¾ Cup (165 g) Brown Sugar
- Pinch (Pinch) Salt
- Non-Stick Cooking Spray or Butter (To grease the pan)
- 1 Cup (75 g) Marshmallows (Add more if you would like!)
- ⅓ Cup (33 g) Pecans (Chopped)
- 3 Tablespoons (2.96 Tablespoons) Honey
Instructions
- Preheat your oven to 375 degrees Fahrenheit.
- Liberally spray or butter your baking dish so that the sweet potatoes do not stick to it after cooking.
- Peel and cut sweet potatoes into 1-inch cubes.
- Boil the sweet potatoes in a large pot of salted water for 15 minutes or until fork tender.
- Drain water from the pot of sweet potatoes.
- Mash the sweet potatoes using a potato masher. You can either mash the potatoes right in the pot or you can transfer them to a large mixing bowl and mash the potatoes in the bowl instead.
- Add the butter and milk to the mashed sweet potatoes.
- Add the brown sugar and a pinch of salt and stir well.
- Pour the sweet potato mixture into the baking dish.
- Top with marshmallows and pecans and then drizzle with honey.
- Bake for 20 minutes, or until the marshmallows are lightly brown and starting to melt.
- Remove from the oven and serve with your favorite main course! Enjoy!
Notes
Nutrition
Nutrition information is provided as a courtesy and is an estimate only.
Leave a comment and rate this recipe!
Keep scrolling to see my newest recipes!
-
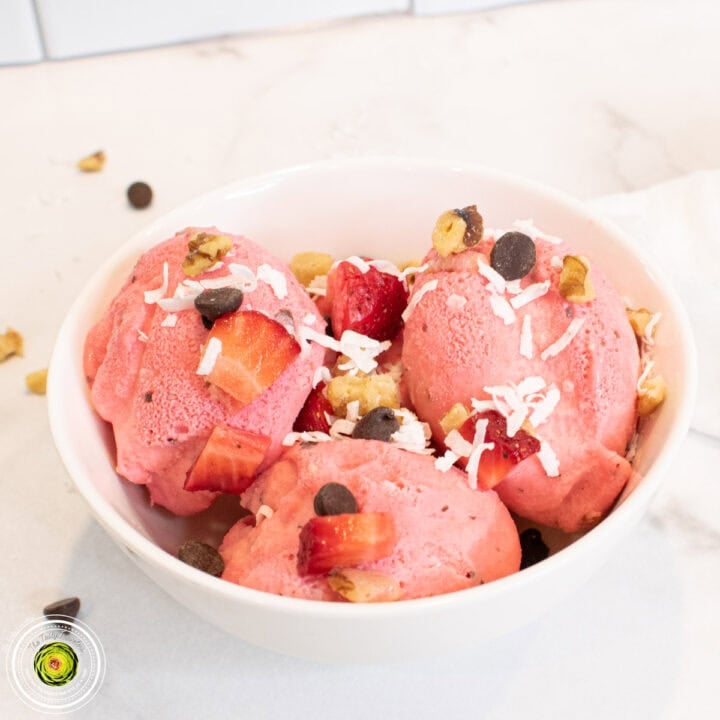
Ninja Creami Strawberry Coco-Nut Protein Ice Cream
If you love the combination of strawberry, coconut, and chocolate, you have to give this Ninja Creami strawberry coco-nut protein ice cream a try. It’s creamy, packed with real strawberry flavor, and the toasted coconut goes surprisingly well with chocolate chips and walnuts. This recipe comes in at 374 calories, 36 grams of protein, 4 grams of sugar, 19 grams of fat, and 19 carbs for the ENTIRE pint. Jump to: Tips for making Ninja Creami Strawberry Coco-Nut Protein Ice Cream Looking for more Ninja Creami Protein Ice Cream Recipes? Ingredient tips and substitutions Directions for Making the Ice Cream […]
-
Is It Normal for the Ninja Creami Spindle to Stick Out?
If you look at your Ninja Creami and notice the spindle poking out of the bottom of the machine, you might wonder if something is wrong. Nothing is wrong. Here’s why it looks like that and what to expect. Is it normal for the Ninja Creami spindle to stick out? Yes. The spindle sticking out of the bottom of the machine when it is off is completely normal and exactly how it is supposed to look. It sticks out about an inch when the machine is not in use. It should not go all the way back up into the […]
-
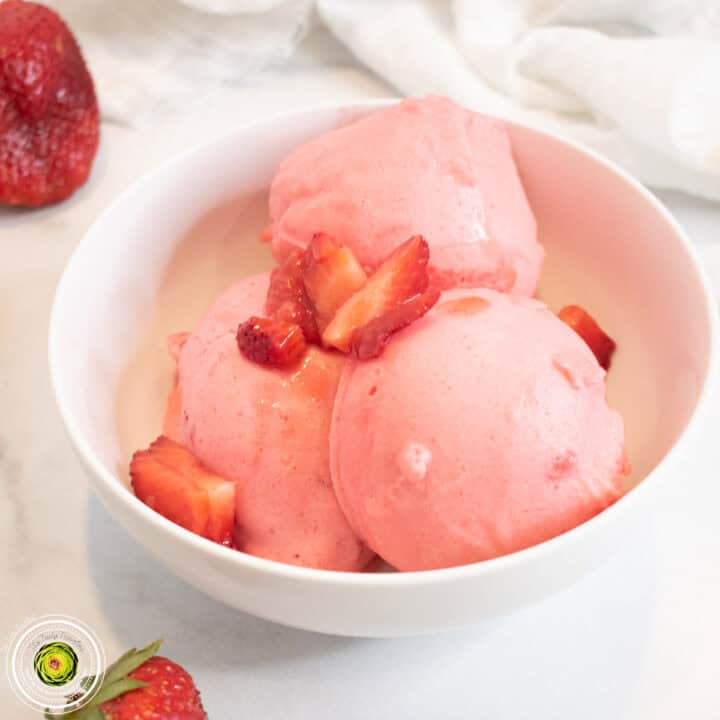
Ninja Creami Super Strawberry Protein Ice Cream
If you love strawberry ice cream, this Ninja Creami super strawberry protein ice cream is going to blow your mind. It has fresh strawberry flavor from FOUR different ingredients, a creamy texture, and a really bright pink color. Trust me, you’re going to love this recipe. This recipe comes in at 215 calories, 35 grams of protein, 6 grams of sugar, 3 grams of fat, and 12 carbs for the ENTIRE pint. Jump to: Tips for making Ninja Creami Super Strawberry Protein Ice Cream Looking for more Ninja Creami Protein Ice Cream Recipes? Ingredient tips and substitutions Directions for Making […]
-
How to Get Rid of Ice on the Outside of Ninja Creami Ice Cream
Sometimes a layer of ice forms around the inside walls of the Ninja Creami container during freezing, sitting between the outer edge of the frozen base and the container. If that ice gets mixed into the ice cream when you process it, it can affect the texture and make it icier than it should be. Here’s how to fix it so that the ice cream is creamy instead of icy. Why does ice form around the outside of the frozen base? When the base freezes, moisture from condensation or from the base itself can collect between the frozen mixture and […]
-
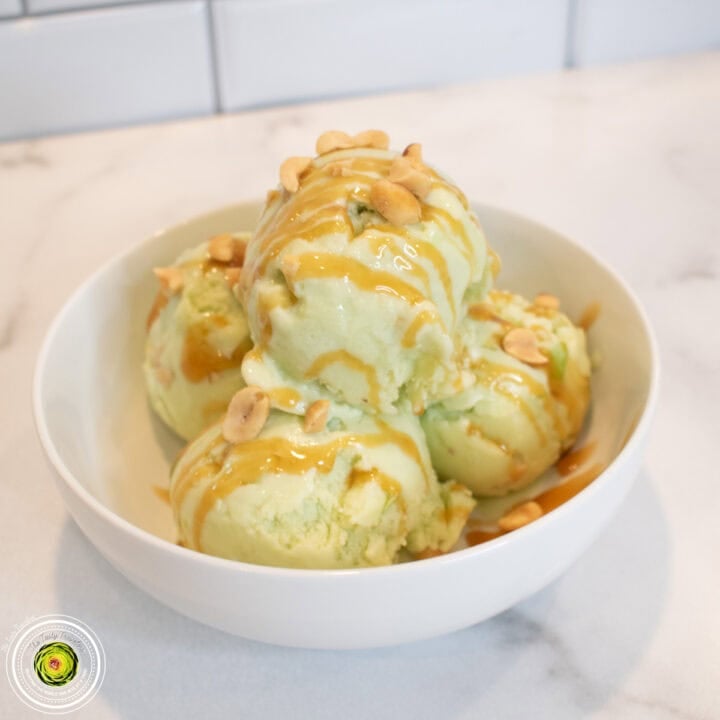
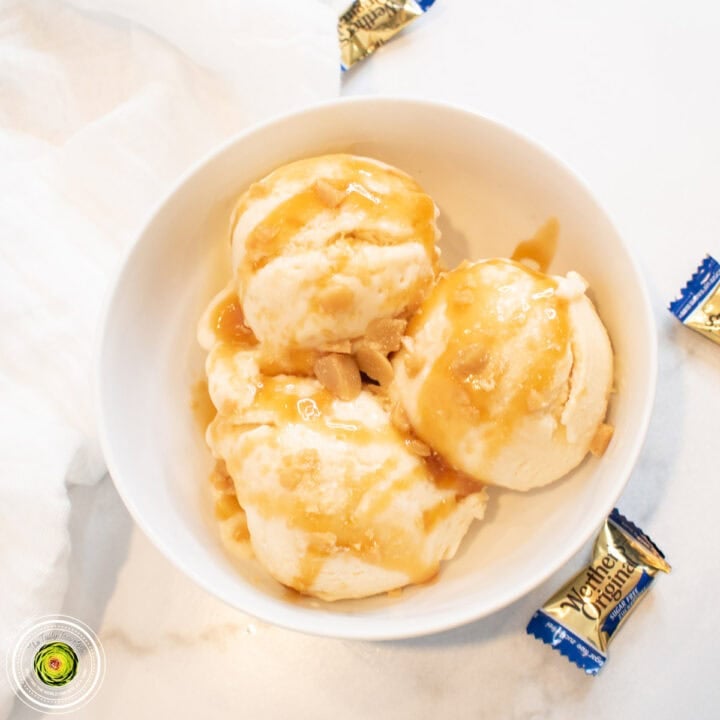
Ninja Creami Taffy Apple Protein Ice Cream
Taffy apples are one of my favorite fall treats, and this Ninja Creami taffy apple protein ice cream tastes just like one. You get that sweet caramel flavor, real green apple, and chopped peanuts in every bite. It’s creamy, sweet, a little tart, and so much fun to eat. This recipe comes in at 293 calories, 33 grams of protein, 17 grams of sugar, 8 grams of fat, and 26 carbs for the ENTIRE pint. Jump to: Tips for making Ninja Creami Taffy Apple Protein Ice Cream Looking for more Ninja Creami Protein Ice Cream Recipes? Ingredient tips and substitutions […]
-
When to Use Re-Spin vs. Processing on Ice Cream Again in Ninja Creami
Re-Spin and the Ice Cream function on the Ninja Creami are not interchangeable. Using the wrong one at the wrong time will not give you the result you’re looking for and can even damage your machine. Here’s exactly when to use each one. What is the difference between Re-Spin and processing on Ice Cream? Ice Cream (and other processing functions) are designed to process a frozen solid base. Re-Spin is designed to further smooth a base that has just been processed, but came out with a texture that isn’t quite right. They are two different functions for two different situations. […]

-
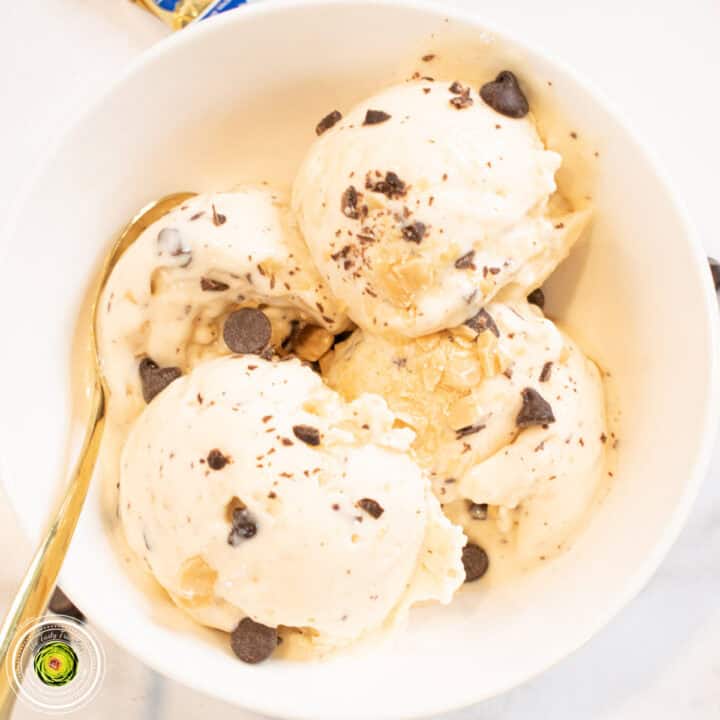
Ninja Creami Caramel Cookie Supreme Protein Ice Cream
Caramel ice cream loaded with chunks of sugar cookie dough and pieces of Werther’s Original candies? Yes please!!! This Ninja Creami caramel cookie supreme protein ice cream is creamy, sweet, and tastes like a no-bake sugar cookie wrapped up in caramel ice cream with 30 grams of protein in the ENTIRE pint. This recipe comes in at 308 calories, 30 grams of protein, 7.5 grams of sugar, 7 grams of fat, and 31 carbs for the ENTIRE pint. Jump to: Tips for making Ninja Creami Caramel Cookie Supreme Protein Ice Cream Looking for more Ninja Creami Protein Ice Cream Recipes? […]
-
Ninja Creami Caramel Chocolate Chip Cheesecake Protein Ice Cream
Caramel, cheesecake, and chocolate chips all in one ice cream? Yes please!!! This Ninja Creami caramel chocolate chip cheesecake protein ice cream is thick, creamy, and has so much real caramel flavor with bits of Werther’s Original candies and chopped chocolate chips throughout every single bite. This recipe comes in at 315 calories, 30 grams of protein, 1 gram of sugar, 9.5 grams of fat, and 37 carbs for the ENTIRE pint. Jump to: Tips for making Ninja Creami Caramel Chocolate Chip Cheesecake Protein Ice Cream Looking for more Ninja Creami Protein Ice Cream Recipes? Ingredient tips and substitutions […]
-
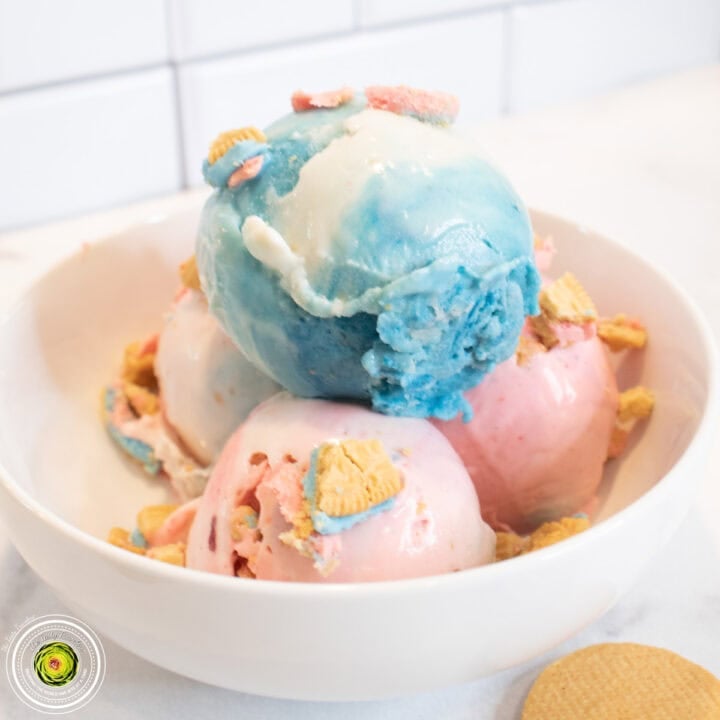
Ninja Creami Cotton Candy Protein Ice Cream
If you love cotton candy, you have to try this Ninja Creami cotton candy protein ice cream. It tastes EXACTLY like the cotton candy you’d get at a carnival, has 31 grams of protein per pint, and it comes out pink, white, and blue right in the same container. You would never know it’s a protein ice cream! This recipe comes in at 357 calories, 31 grams of protein, 16 grams of sugar, 11.5 grams of fat, and 53 carbs for the ENTIRE pint. Jump to: Tips for making Ninja Creami Cotton Candy Protein Ice Cream Looking for more Ninja […]
-
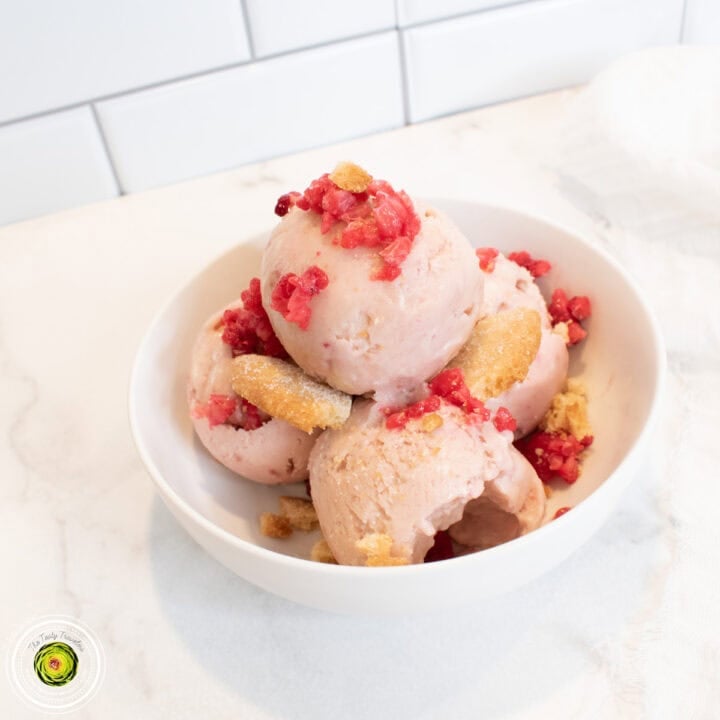
Ninja Creami Strawberry Pretzel Pie Protein Ice Cream
If you have ever had strawberry pretzel pie at a summer BBQ or potluck, you know how good those flavors are together. This Ninja Creami strawberry pretzel pie protein ice cream takes that same combination of sweet strawberry, cheesecake, and crunchy pretzel and turns it into a thick and creamy frozen treat. I promise you would never know it has 33 grams of protein! This recipe comes in at 359 calories, 33 grams of protein, 10 grams of sugar, 4 grams of fat, and 50 carbs for the ENTIRE pint. Jump to: Tips for making Ninja Creami Strawberry Pretzel Pie […]
-
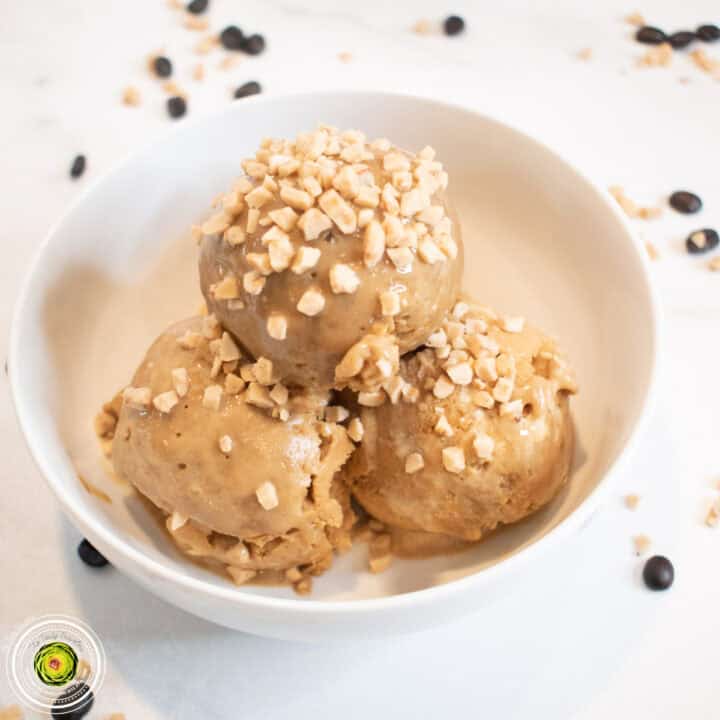
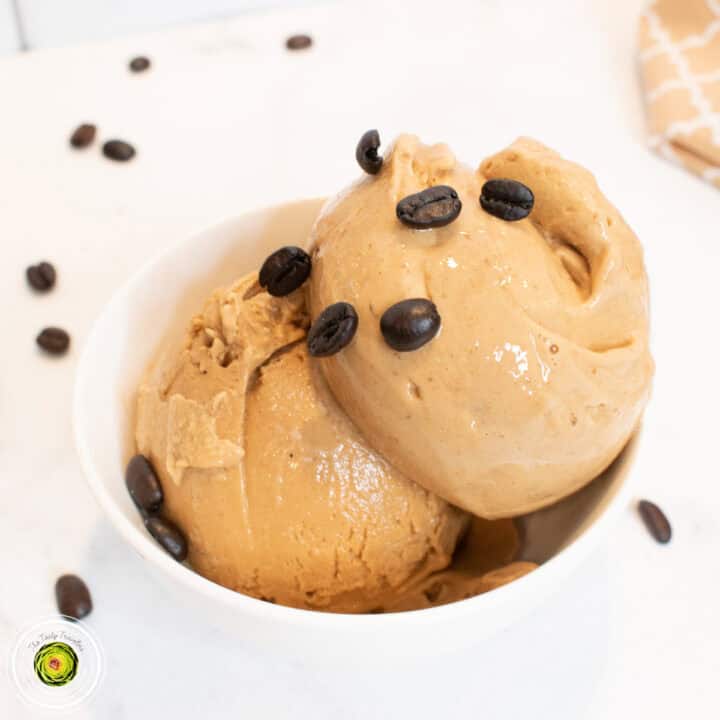
Ninja Creami Coffee Toffee Protein Ice Cream
If you love coffee ice cream, you have to try my recipe for Ninja Creami toffee coffee protein ice cream. It has the perfect amount of coffee flavor, a thick and creamy texture, and a really good crunch from the Heath chip mix-ins. I promise you would never know it’s a protein ice cream! This recipe comes in at 357 calories, 30 grams of protein, 19 grams of sugar, 13 grams of fat, for the ENTIRE pint. Jump to: Tips for making Ninja Creami Toffee Coffee Protein Ice Cream Looking for more Ninja Creami Protein Ice Cream Recipes? Ingredient tips […]
-
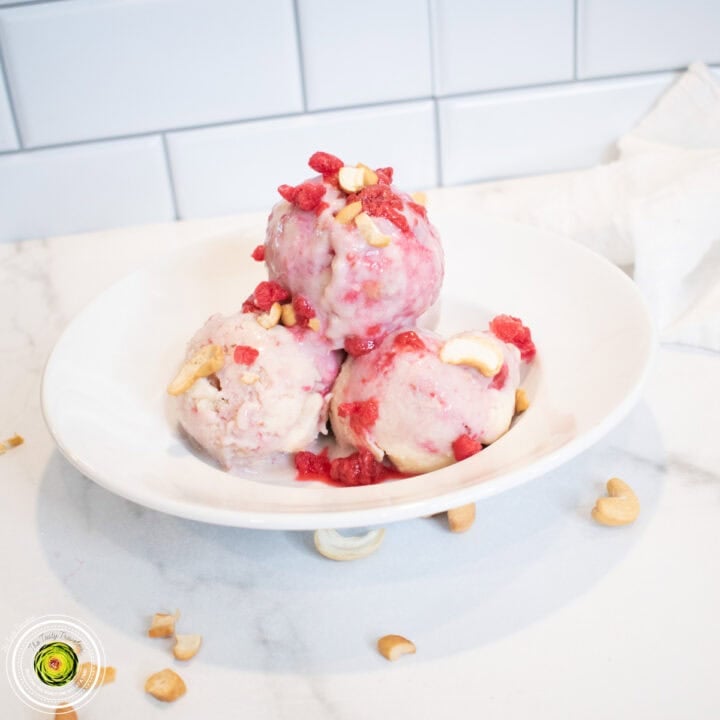
Ninja Creami Baseball Nut Protein Ice Cream
If you loved Baskin Robbins Baseball Nut ice cream as a kid, you have to try this Ninja Creami baseball nut protein ice cream. It’s a creamy vanilla base loaded with chopped cashews and homemade raspberry sauce throughout, and I promise you would never know it’s a protein ice cream. Jump to: Tips for making Ninja Creami Baseball Nut Protein Ice Cream Looking for more Ninja Creami Protein Ice Cream Recipes? Ingredient tips and substitutions Directions for Making the Ice Cream Mixture Directions for Processing the Ice Cream Mixture Save for Later on Pinterest! Recipe Comments Baseball Nut from Baskin […]

-
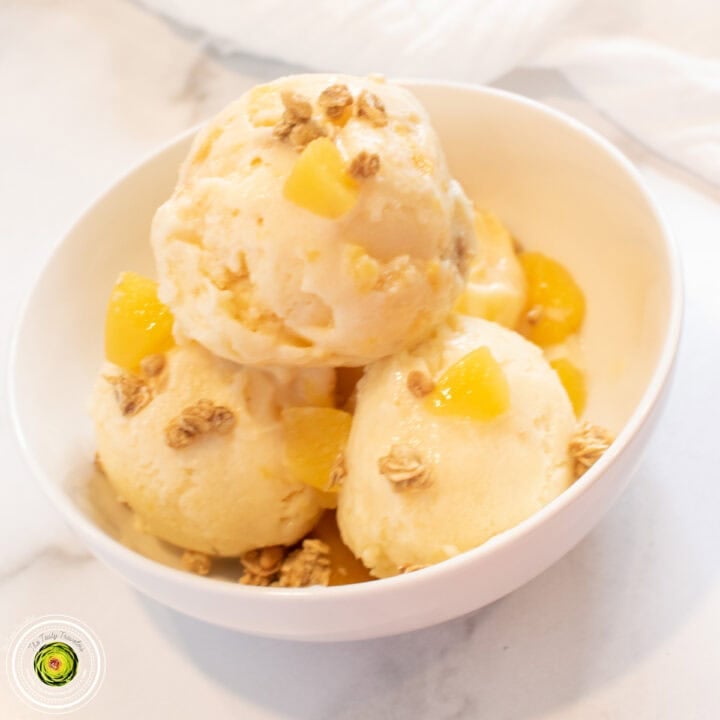
Ninja Creami Peach Cobbler Cottage Cheese Protein Ice Cream
I will be the first person to tell you that I HATE cottage cheese. I cannot stand the texture, the flavor, none of it. So when I tell you that this Ninja Creami Peach Cobbler Cottage Cheese Protein Ice Cream does not taste like cottage cheese, I mean it! I promise! This recipe comes in at 297.59 calories, 38.2 grams of protein, 21.11 grams of sugar, 4.23 grams of fat, and 27.68 grams of carbs for the ENTIRE pint. See the recipe card at the bottom of the post for all nutrition facts. Jump to: Tips for making Ninja Creami […]
-
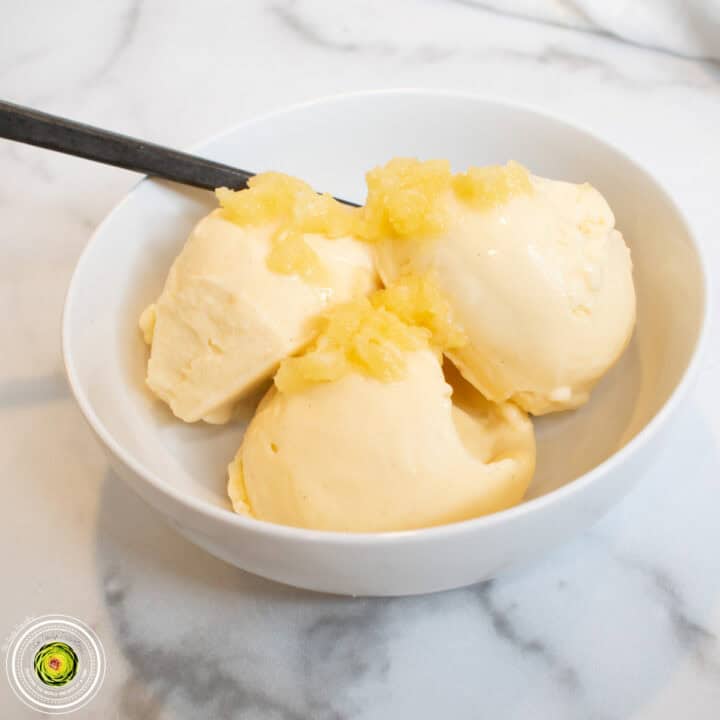
Ninja Creami Pineapple Dole Whip Protein Ice Cream
If you have ever had a Dole Whip at Disney World, you know how addicting they are. This Ninja Creami Pineapple Dole Whip Protein Ice Cream brings that same creamy pineapple flavor home, but with a TON of protein packed into the whole pint. Trust me, you would never know it’s a healthier version! This recipe comes in at 346.67 calories, 31.33 grams of protein, 24 grams of sugar, 3 grams of fat, and 47 grams of carbs for the ENTIRE pint. See the recipe card at the bottom of the post for all nutrition facts. Jump to: Tips for […]
-
Secret Ingredient to Make Coffee Ice Cream
If you want rich, bold coffee flavor in your Ninja Creami ice cream, instant espresso powder is the way to do it. No extra liquid, no fuss, and you can dial in exactly how much coffee flavor you want. Here’s everything you need to know. Why use instant espresso powder instead of brewed coffee? Brewed coffee is mostly water. Adding it to your Ninja Creami base means you’re adding liquid that can change the consistency of your recipe and water down the other flavors. Instant espresso powder is pure concentrated coffee flavor with no extra liquid. You get all the […]

-
Use Powdered Peanut Butter for More Flavor in Ninja Creami Recipes
If you want more peanut butter flavor in your Ninja Creami ice cream without adding on extra fat and calories, powdered peanut butter is a simple swap that delivers a richer, more concentrated peanut butter taste. Here’s why it works and how to use it. What is powdered peanut butter? Powdered peanut butter is made by pressing most of the fat out of roasted peanuts and grinding what’s left into a fine powder. What remains is concentrated peanut butter flavor with significantly less fat, fewer calories, and less sugar than regular peanut butter. It has the same nutty, roasted peanut […]
-
How Long Can You Freeze a Ninja Creami Base Before Processing?
Everyone knows that it’s recommended to freeze your Ninja Creami base for 24 hours before processing. But does it need to be frozen for exactly 24 hours? How long is too long, and does it actually matter if your Ninja Creami base has been sitting in the freezer for a week or more? Is there a maximum freeze time for Ninja Creami bases? Ninja does not publish an official maximum freeze time. The 24 hour minimum is well established, but there is no hard cutoff on the other end. Many people make their ice cream base with the intention of […]
-
How to Get Even More Vanilla Flavor in Your Ice Cream…
If you’ve been using vanilla extract in your Ninja Creami recipes and want to take the vanilla flavor up a notch, vanilla bean paste is the upgrade. Same effort, noticeably better results. What is vanilla bean paste? Vanilla bean paste is exactly what it sounds like. It’s a thick paste made from real vanilla beans. It contains the actual seeds scraped from inside vanilla bean pods, which is where the most intense vanilla flavor lives. When you use it in ice cream, you get those tiny black vanilla bean specks throughout the pint, along with a deeper, richer vanilla flavor […]


Comments
No Comments